Introduction: Tools You Will Need

What tools do you need to build the Aleph J? We're going to break it down into must-have items and "nice to have" items, but keep in mind that you'll find a variety of opinions on DIYAudio about this, so feel free to explore those opinions on the forums.
We are going to focus on tools "good enough for this build," rather than tools "ideal for a lifetime of electronics building." After all, most won't want to spend more on tools than on the amplifier. But some more extravagant options will be mentioned, for those who want high-end tools to work on their high-end amplifier. :-)
We also will assume that you already have the basic household tools (basic screwdrivers, socket set, wire cutter, pliers, drill, etc).
Must-Have Tools
Soldering Station: Perhaps the most important tool is a good quality, variable-temperature soldering station. While it may be possible to make do with a simple, fixed-temperature soldering pencil, it's definitely a bad idea, particularly when good soldering stations can be had for ~US$40. If you want a highly-regarded name brand like Weller or Haako, you can spend 3 times that figure. But there are many quality alternatives on Amazon with solid reviews and equivalent features between US$40-$50. Because these "no name" brands and models come and go, any specific recommendation is likely to be obsolete quickly. Instead, here are the features to look for:
- Variable temperature -- being able to control temperature is important for getting good solder joints in different situations (although I do most of my soldering at 650 Fahrenheit), and it's even better if it offers a "temperature control" or "temperature return" feature that senses temperature drops at the tip and quickly compensates;
- Easy-to-use temperature adjustment -- I prefer an analog dial interface that doesn't require multiple button presses, but there are digital interface partisans who feel differently;
- Multiple tip sizes and shapes -- many no-frills irons come with only one tip, usually conical (which often can't put enough heat where you want it), so look for one that offers one or more chisel tips as well (1.6 or 2.4mm are good sizes);
- Integrated sponge or wire wool tray -- you'll be tinning and wiping your soldering iron frequently, so it's nice to have a sponge or wire wool tray integrated into the soldering iron holder.
Here is an example of one inexpensive soldering station that ticks all of these boxes: Soldering Station, 65W Tilswall Solder Station Welding Iron with Smart Temperature Control (392°F-896°F), Extra 5pcs Soldering Tips, Built-in Transformer.
Digital Multimeter (DMM): For this project, most any modern, auto-ranging, digital unit that offers measurements for AC and DC voltage, resistance, capacitance, continuity, and impedance should do. The big names in DMMs are Fluke and Klein, but there are also plenty of well-reviewed no-name brands that come in at half or less of their price. I've decided to go with this $20 budget option, which handled everything necessary for this build.
Multimeter Leads Kit: In addition to a DMM, you will need a good set of leads with a variety of clips and probes. Most multimeters come with only a pair of leads that end in basic, straight metal probes. For this build, you will need to measure voltages while adjusting potentiometers, so having a set of hook clip leads and/or insulated small alligator leads will free up your hands and make your life a lot easier. So if your DMM didn't include a good set of alternative leads, you should get a set with hook clips, at minimum. Not all leads fit all DMMs, so make sure whatever you get is compatible with the DMM you chose. I went with this leads kit and was very happy I did.
 |
| DMM with hook clip leads |
 |
| hook clip leads close-up |
Dim Bulb Tester: This device allows you to test your build while limiting current in case of an unintended short. The idea here is that, if you messed up and have a short somewhere in your circuit, the incandescent light bulb in your dim bulb tester will absorb the resulting current flow, reducing the chances that you will overload and damage any components in the device under test. Here is a nice article explaining the device in more detail. Many hobbyists build their own dim bulb testers, since they are basically just a lightbulb in series with the AC mains line. But if you don't want the bother, nice dim bulb testers can be had preassembled on eBay for ~US$40. You will also need a 100 watt incandescent light bulb (not LED) for this. For those of you who don't have bulbs handy and live in California (where incandescent bulbs are mostly illegal), you might look for bulbs that are called "appliance," "rough service," "vintage edison," or "half chrome," as those sometimes slip through the Amazon shipping ban. In the alternative, you can see if any of your friends have some bulbs hoarded away.
 |
| dim bulb tester in action |
Wire Stripper and Crimper: You want a nice, sharp wire stripper, with notches for various gauges of wire. I strongly recommend getting one that also has wire crimping capabilities, as crimping connectors onto wire is much more convenient than soldering each one. There are lots of options available from lots of places, including your local hardware store, but here's a well-reviewed option on Amazon for US$12: Irwin VISE-GRIP Wire Stripping Tool. If you are willing to spend more, the fancy self-adjusting strippers are nice, as are the dedicated crimping tools, but I find that for occasional use, they are more than you need.
 |
| My trusty stripper/crimper. |
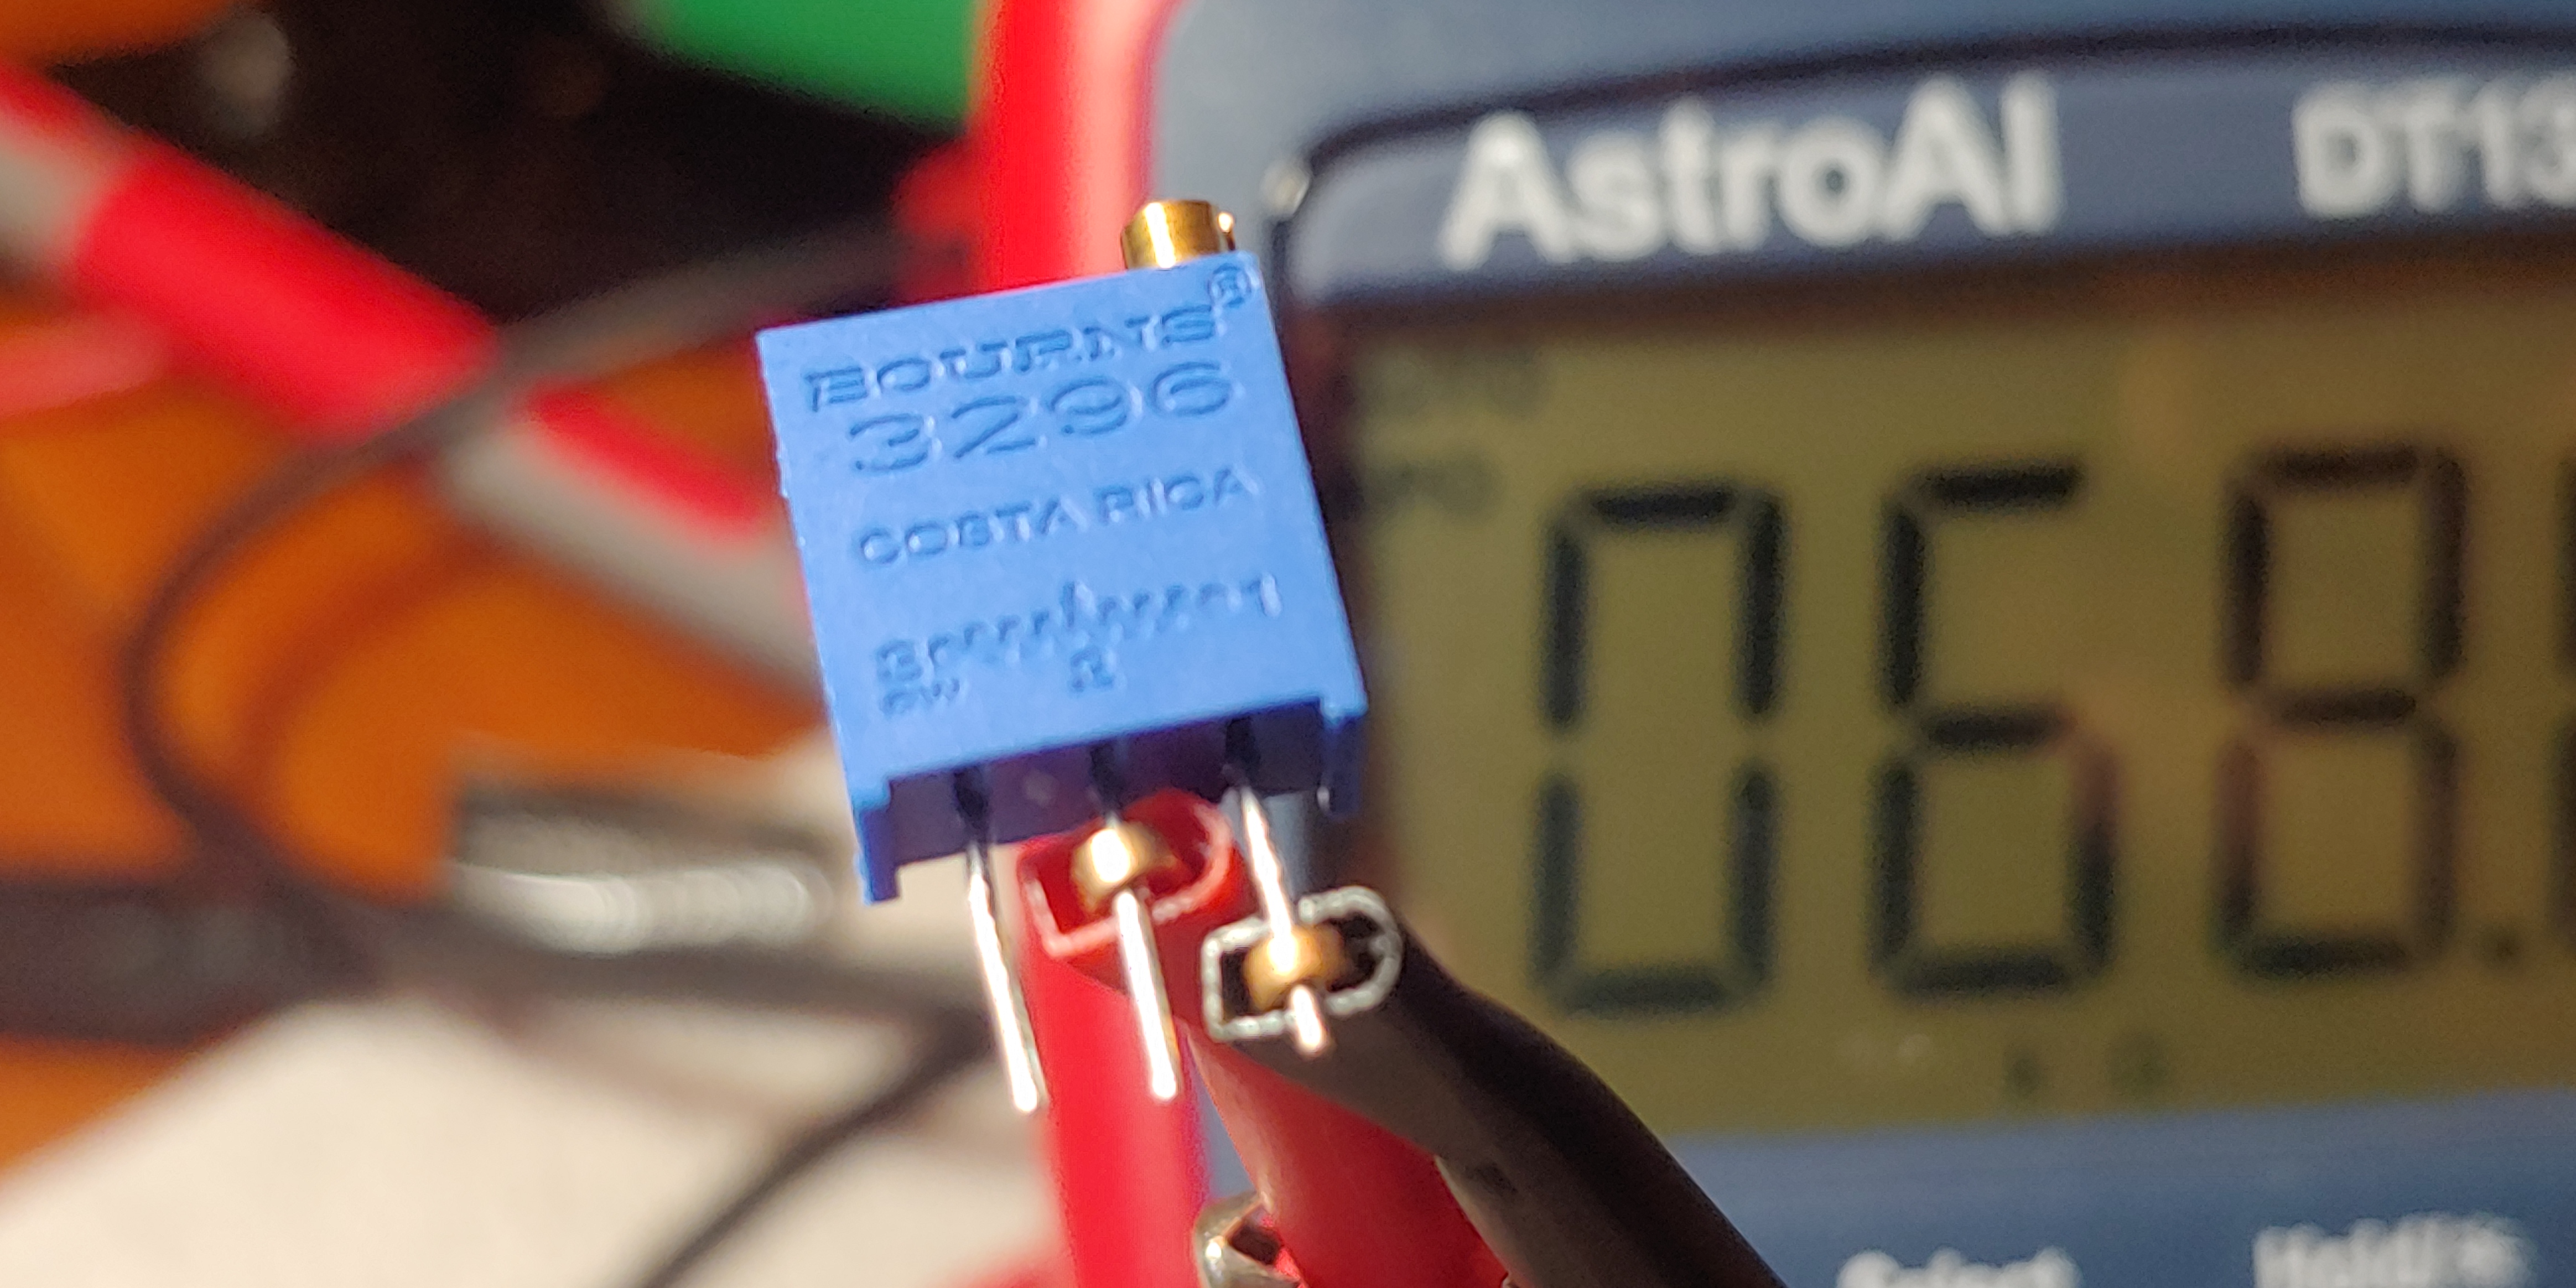
Small Non-conductive Screwdriver or Trimmer Tool: The Aleph J includes two small potentiometers that must be adjusted to set the final bias and DC offset of the amplifier. You'll need a small, standard flat-head screwdriver for that. I strongly recommend a non-conductive one or one without exposed metal parts, so that if you accidentally drop it into the guts of the amplifier, there will be less unanticipated excitement. I've included this trimmer tool, designed for potentiometer adjusting, in the parts list that you will be buying from Mouser (it's less than $4). But feel free to use something else, if you already have it.
Infrared Thermometer: With any Class A amplifier, questions of heat dissipation are crucial. Having an infrared thermometer makes it easy to measure the temperature of MOSFETs and heat sinks. Well-reviewed units run US$25-30 on Amazon.
 |
| infrared thermometer |
Nice-to-Have Tools
Magnifying glass: There's a lot of fiddly little bits, so a magnifying glass is handy. You will want to inspect your solder joints, for example, to make sure you've got solid connections, and a magnifying glass is very helpful for that.
Micro Cutter: I've made due with a basic set of household wire cutters for all my prior builds, but they can be ungainly for electronics work. So I've decided to buy a set of US$9 Haako micro cutters for this one, for cutting leads and wires flush after they are soldered.
Small Needle Nose Pliers: Useful for bending component leads before installing them and for pulling components if you ever need to desolder them.
Third Hand: You will find that when you are soldering components to your board that it would often be nice to have a third or fourth hand to hold things. Well, that's where these "third hand" (aka "helping hand" or "circuit board holder") tools come in handy. I have a rather basic, old-fashioned one with two clips and a magnifier, but there are lots of more modern options with four or more adjustable arms.
 |
| third hand |
Desoldering tool: Eventually, you are going to screw up and need to remove something that you've soldered into place. I make do with the traditional tools: a desoldering wick and a plastic suction bulb. But many swear by the spring-loaded, US$20 Soldapullt (and of course there are cheaper knock-off versions).
The whole point of the dim bulb tester is that it is a light bulb in SERIES with the AC line, not parallel.
ReplyDeleteI'm afraid I'm not sure what your comment is meant to convey. Did I imply somehow that it was in parallel?
DeleteFirst off yes you did say parallel halfway through your description but stuff happens, this blog is fantastic, very helpful to me and I’m sure many more. Thanks.
ReplyDeleteah, I see what you mean! Thanks, I have changed it to series!
Delete